I started the development of a white underglaze and a black underglaze for the studio. The reason behind this is due to the amount of material used in the studio and the cost of the underglaze. I looked up the 1 gallon retail cost of these items.
1 gallon of White underglaze = $130.00
1 gallon of Black underglaze = $140.00
In cases like this when I’m formulating, I like to have a starting point. I searched on the internet and found a link to a Ceramic Arts Daily article on the topic of making underglazes. Here is the link: http://ceramicartsdaily.org/ceramic-supplies/underglaze-ceramic-supplies-2/how-to-make-homemade-underglazes/
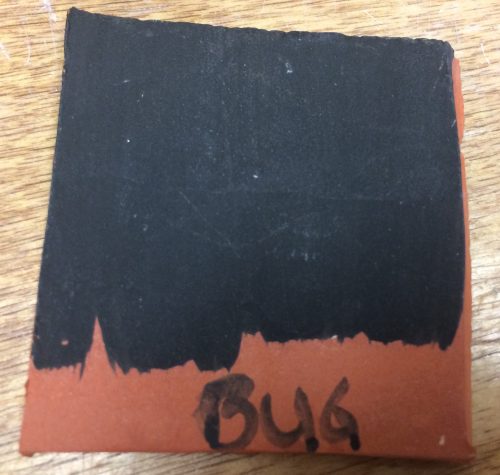
A common recipe for an underglaze will consist of 1/3 frit, 1/3 clay, 1/3 stain and a gum. It did not take long to arrive at a nice looking black underglaze. I used Alberta slip as part of the clay in the recipe due to its iron content. Black underglaze Recipe:
Frit 3110 50 g
Tile 6 clay 25 g
Alberta slip 25 g
Mason stain 6600 50 g
Macaloid .85 g
CMC gum .85 g
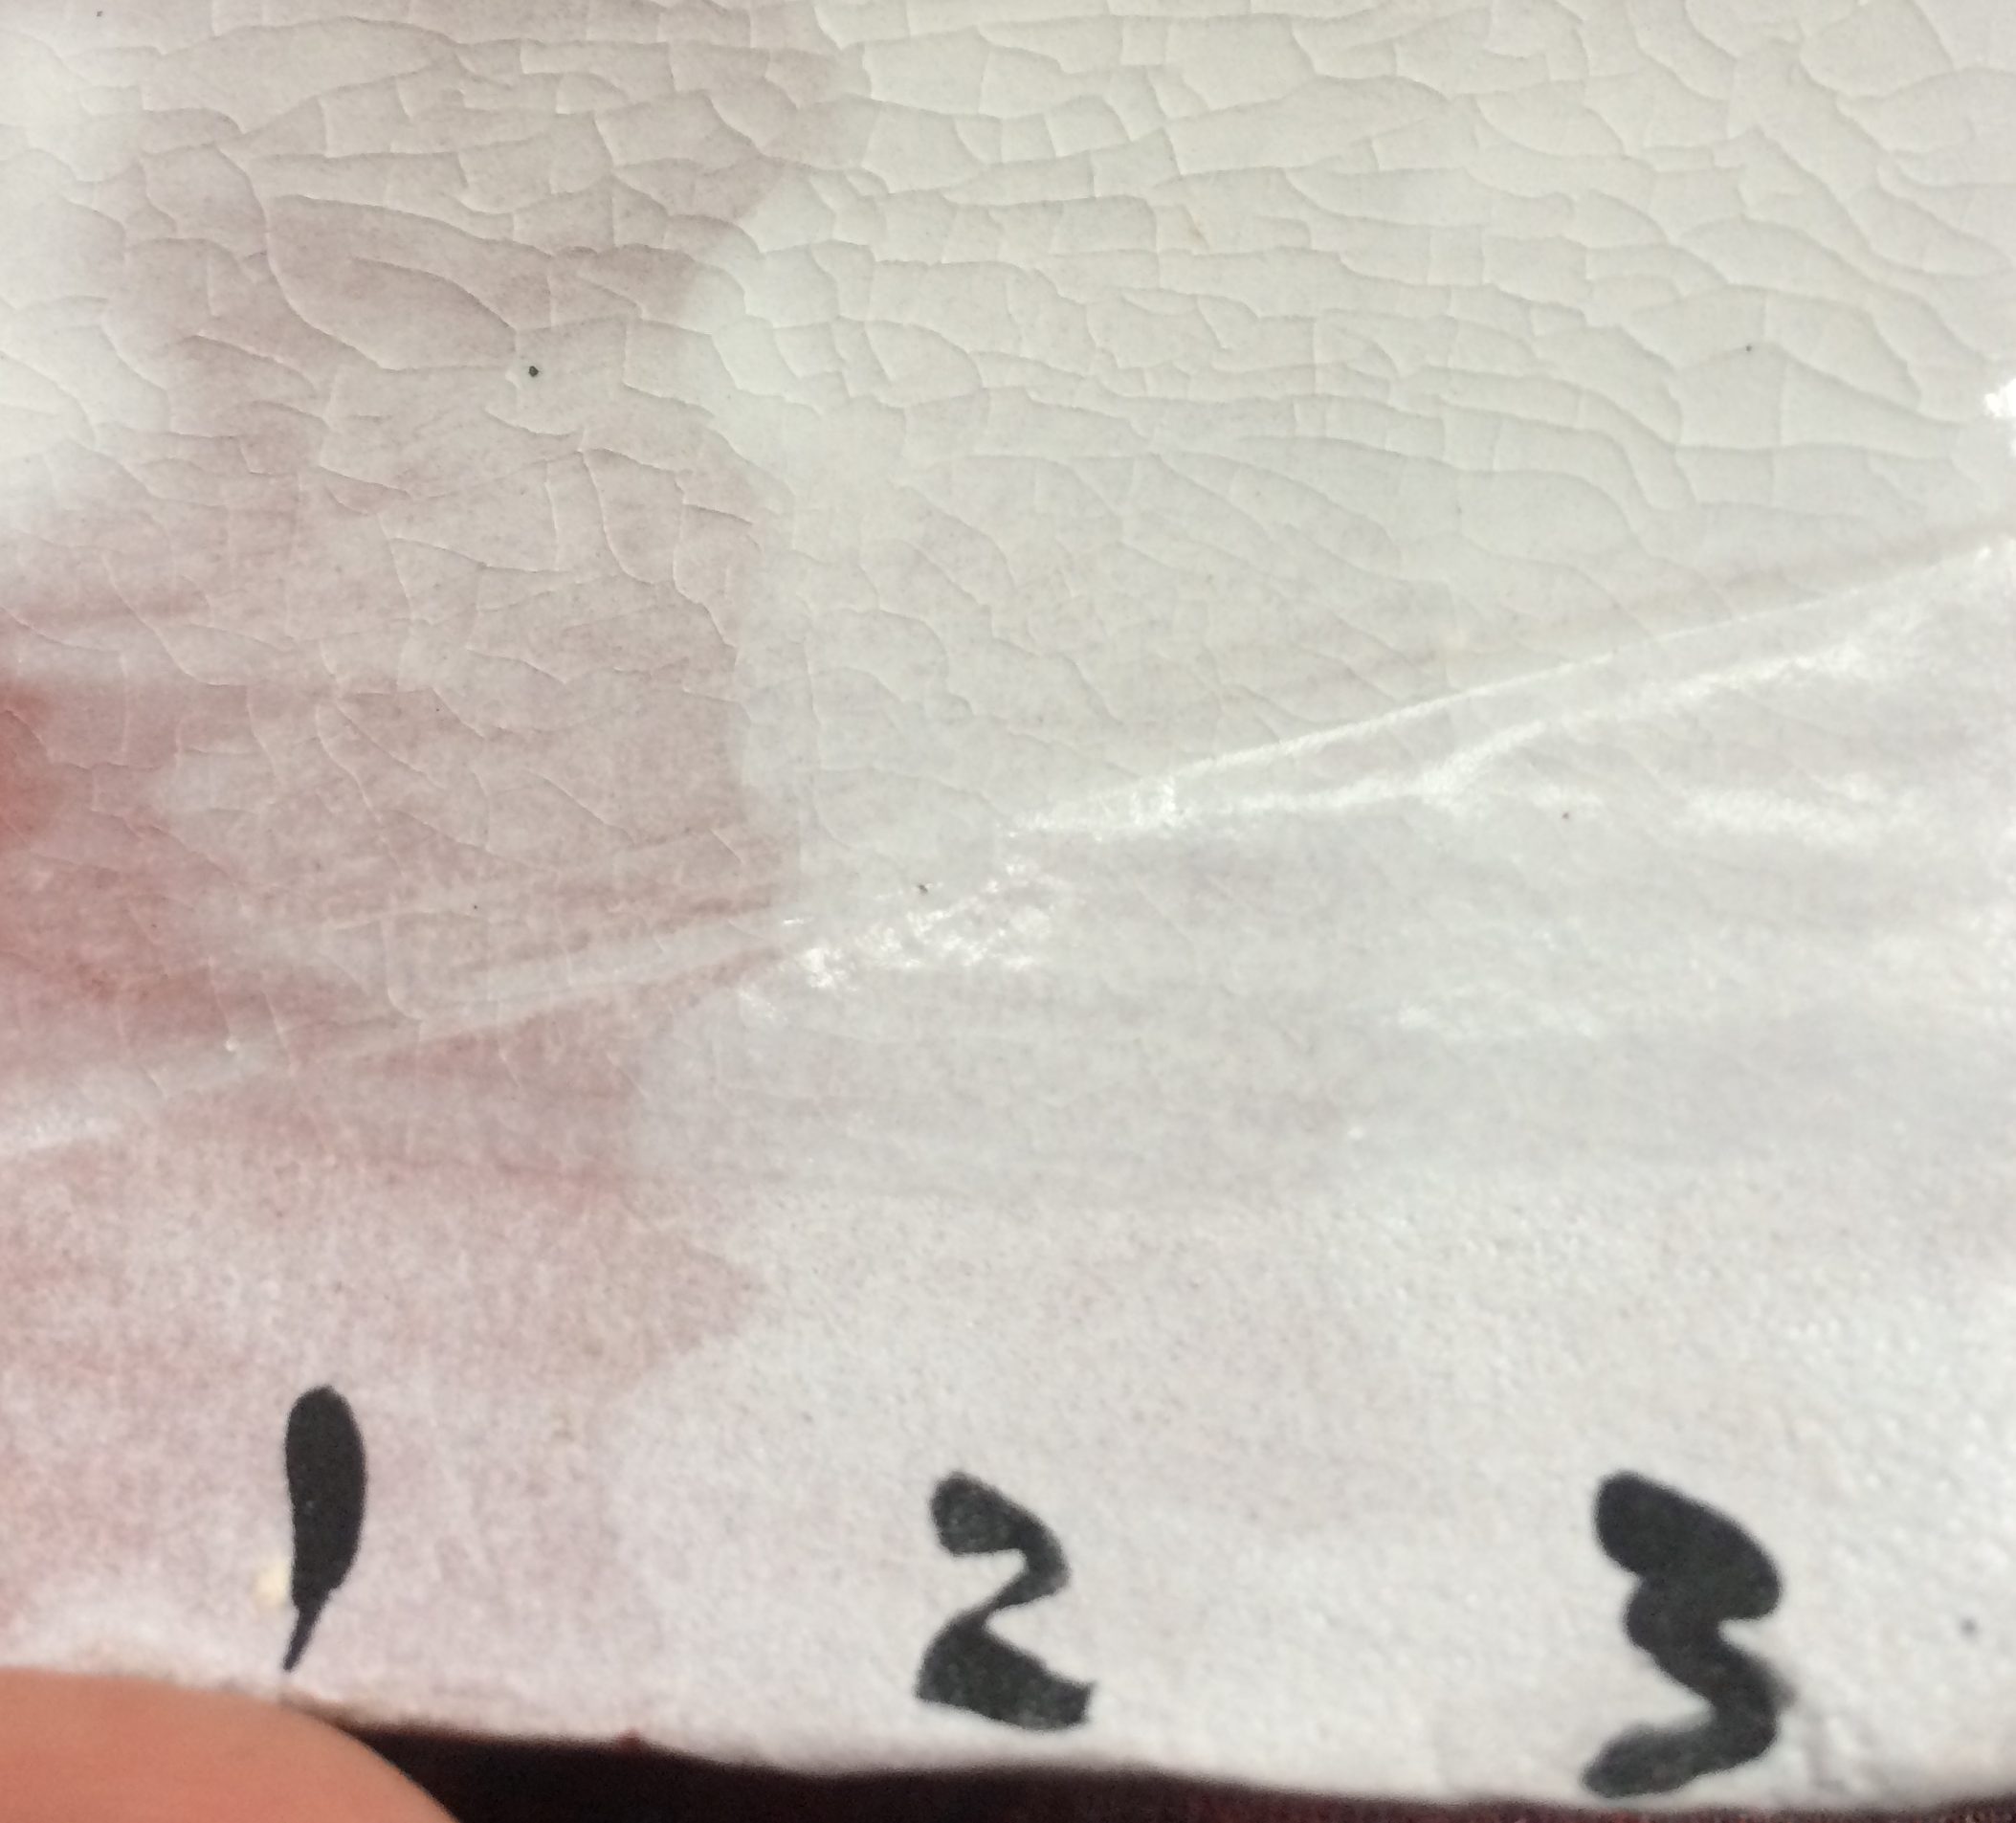
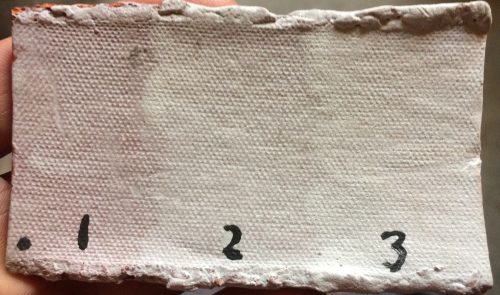
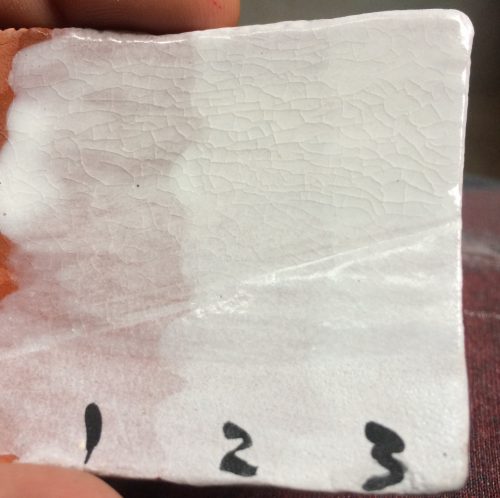
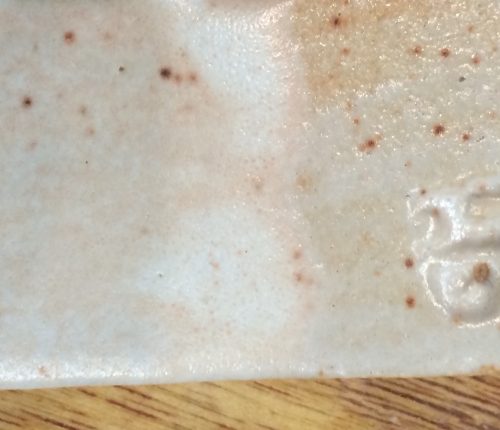
For the white underglaze, I started with tile 6 clay because it’s very white. EPK is a bit creamy looking and does contain more iron than Tile 6 or Grolleg. I used quite a bit of an opacifier to start, however the results came back yielding a creamy buff color. There was also a bit of a mud crack effect post firing. I tried a test with 10% titanium dioxide and the result was a beautiful light creamy yellow, but no white. Tin oxide is what got me to a very white looking underglaze. I decided to start with the whitest clay body in the studio as a base, Coleman Porcelain. So I used equal parts Frit 3110 and moist form Coleman Porcelain. This result was a beautiful opaque white glaze, but not underglaze. I had to raise the melting point so Alumina Hydrate was the next test. 12.5% was getting there, but it was still fluxing. 20% looked very good. I finally found a test that was desirable. At high temp the result was a beautiful opaque Shino looking glaze.
One of the desirable qualities about an underglaze is how it brushes onto the surface of bone dry greenware and/or bisque-ware. Gums are added to create this quality. I used 1% cmc gum and 1% Macaloid (Vee gum T). One issue I had was when I mixed up multiple small batches, the overall mixture was taking too long to dry on the bisque ware. I wanted to reduce the amount of gum overall, so I calculated out how many batches I made, then added in a batch without gum in it. I reduced the gums from 1% down to .85%. This result was great. The underglaze brushed on very nicely. It also worked well with a clear glaze over it. Since then, I have done more tests and they have turned out great. The following is the recipe:
In a blender mix:
Coleman Porcelain 50 g
Frit 3110 50 g
Alumina Hydrate 20 g
Zircopax 10 g
Tin Oxide 10 g
Vee Gum .85 g
CMC Gum .85 g
Click link below to download article.